

Bathroom tiles have a sneaky way of looking clean from a distance while hiding the real problem in the lines between them. You wipe the surface, the room smells fresher, and for a moment, everything seems fine. Then the light hits the wall or floor differently, and the grout still looks grey, patchy, or strangely dull.
That is what makes this job so annoying. The dirt does not always sit on top, where you can quickly swipe it away. It settles into tiny pores, mixes with soap residue, hard-water marks, body oils, dust, and moisture, and slowly turns bright lines into tired ones. Before long, even a freshly cleaned bathroom can look older than it really is.
The good news is that you do not need to attack your bathroom with the strongest product you can find. In fact, going too harsh too fast can make the problem worse, especially on delicate tiles or old grout. A cleaner bathroom starts with knowing what you are dealing with, choosing the right approach, and giving the grime time to loosen. On the next pages, you will see how to make those lines look fresh again without turning it into a weekend project.
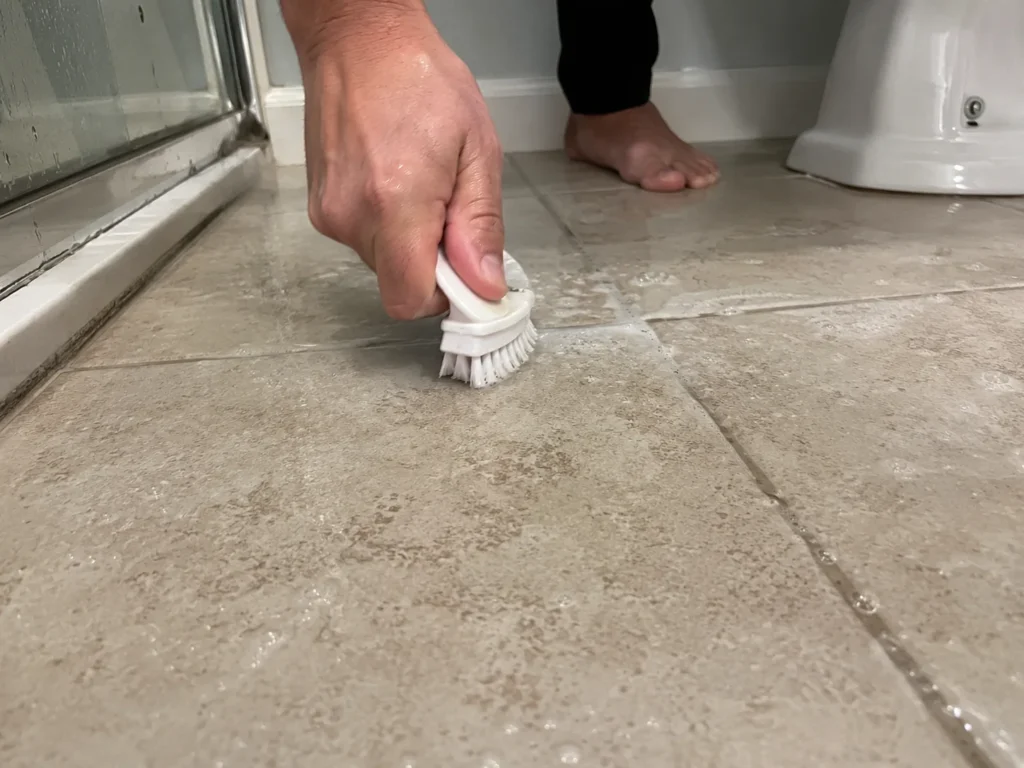
Start with the easiest step first: plain warm water and a firm little brush. It sounds almost too simple, but this first pass matters. Wet the tiles and grout, then scrub along the lines in small circles. You are not trying to win the whole battle yet. You are removing loose dirt, old soap residue, and the thin surface layer that blocks stronger cleaning from reaching the grout.
Use a brush that is stiff enough to work into the lines, but not so rough that it scratches the tile or chews up crumbling grout. An old toothbrush can work well on small areas, while a narrow grout brush is better for a larger floor or shower wall. Work in sections so the surface stays wet while you scrub.
After scrubbing, wipe everything with a clean, damp cloth or sponge. This shows you what is actually stained and what was only sitting on the surface. If the grout already looks brighter, stop there and rinse well. If the dark lines are still there, you have prepared the area properly for the next step, which is where the deeper cleaning begins. This saves effort and helps your cleaner work more evenly, too.
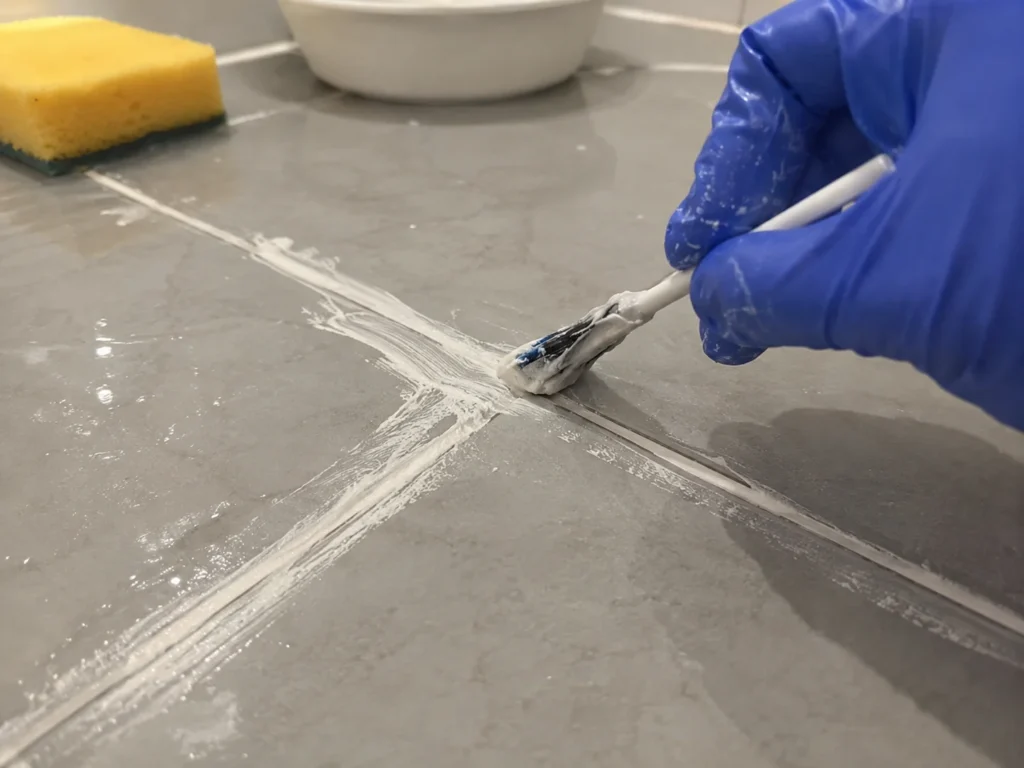
For grout that still looks dull, make a thick paste with two parts baking soda and one part hydrogen peroxide. Add a few drops of mild dish soap if the tiles have greasy residue or that slippery bathroom film. Stir until the mixture is creamy enough to stay on the grout instead of running down the wall or disappearing across the floor.
Spread the paste directly over the grout lines with a brush, sponge, or gloved finger. Do not rush into scrubbing immediately. Let it sit for about ten to fifteen minutes so it can soften the build-up inside the tiny pores. This waiting time is what makes the job feel much easier later.
Now scrub the lines gently but firmly. Move with the grout, not just across it, and pay extra attention to corners where moisture tends to collect. When the lines begin to brighten, rinse the area with warm water and wipe away every bit of paste. Leftover residue can dry into a chalky film, so go over the tiles once more with a clean, damp cloth. Then dry the surface and check your progress. Good rinsing is just as important as the scrubbing itself here every time.
If some stains refuse to move, do not immediately reach for the harshest bottle under the sink. First, repeat the paste treatment on only the darkest lines and give it a little longer to work. Stubborn grout usually improves in layers, not in one dramatic swipe. It is better to clean twice gently than once so aggressively that you damage the surface.
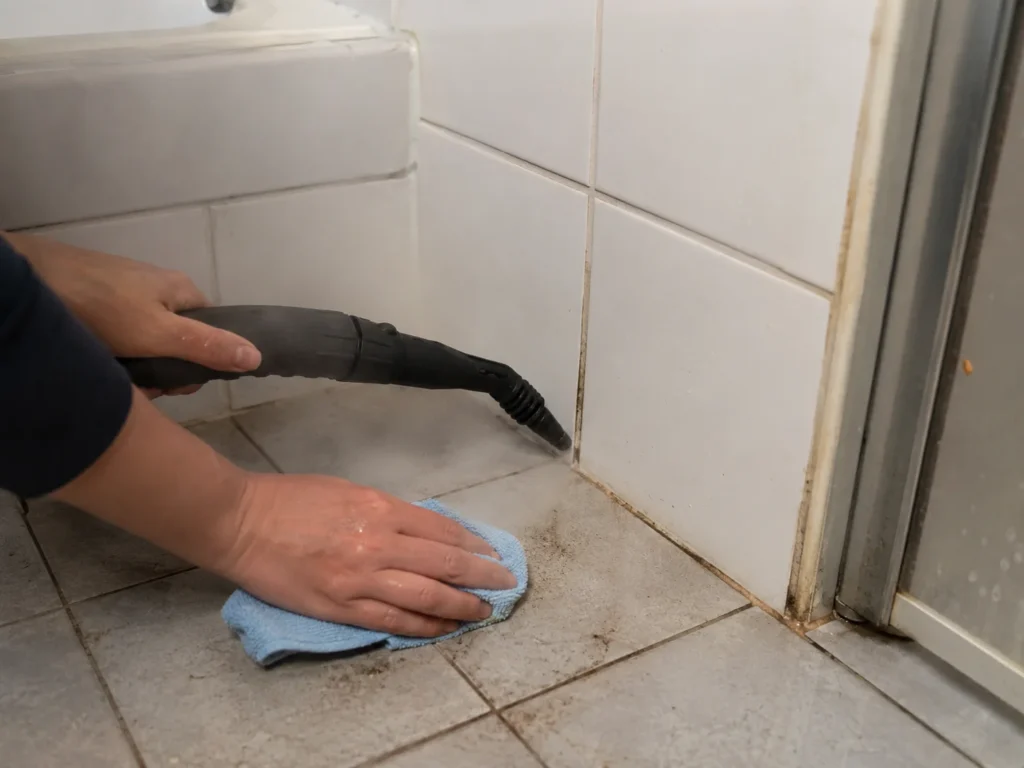
A steam cleaner can also help, especially in showers where old soap film and moisture have been building up for months. Use the small brush attachment, move slowly along the grout, and wipe away the loosened dirt as you go. Steam is useful because it lifts grime without needing a strong smell or a heavy chemical cleaner.
For white grout that still looks yellow or grey, an oxygen-based whitening cleaner can be used carefully according to the label. Always test a hidden spot first, especially if your tiles are natural stone, coloured, textured, or old. Never mix different cleaners together, and avoid using very acidic or very harsh products on delicate surfaces. Bathroom grime is frustrating, but damaged grout is even worse. Patience protects the finish while still giving the cleaner time to do its job properly, too.
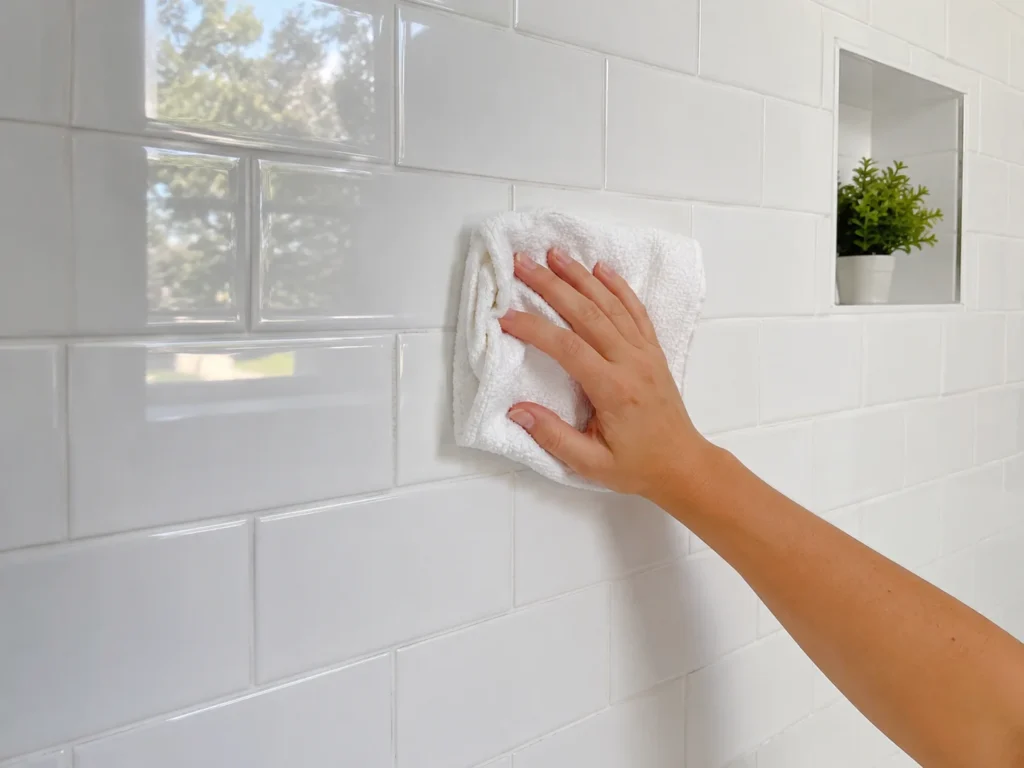
Once the tiles and grout look clean again, the real trick is keeping them that way for longer. After every shower, pull water off the walls with a squeegee or wipe the wettest areas with a towel. It takes less than a minute, but it stops moisture, soap residue, and minerals from drying into the grout lines again.
Ventilation matters too. Leave the bathroom door open when you can, run the fan after showering, and avoid letting damp towels sit against tiled walls. Grout loves trapped moisture, so anything that helps the room dry faster will make your next cleaning session easier.
When the grout is completely clean and dry, you can protect it with a grout sealer. Wait at least a full day after deep cleaning, then follow the instructions on the sealer you choose. This helps fill the tiny pores so dirt and moisture cannot settle in as quickly. It will not make your bathroom self-cleaning, but it gives you a much better head start. From there, a weekly wipe-down with warm water and mild soap is usually enough to keep the bright, fresh look going. It helps prevent dreaded grey lines from creeping back too quickly again.